Sunday, March 11, 2012

Hello, again.

Well, I have been really busy with my new life after college. And I've finally gotten around to updating my blog. Shame on me for not keeping up with it. A little update on myself: I am currently working as a Program Technician at WorkAbilities, Inc. I work with intellectually and mentally disabled adults. Our main focuses are to help clients reach their program goals (on a daily and/or monthly basis), and to provide learning opportunities such as: vocational skills and personal development skills in the forms of class activities, while their isn't any in-center paid work for them to do. I can't tell you how much I enjoy this job. I feel like I have a strength in forming classes (art, history, cooking, etc.),  partly due to my background in my college studies of education.

Also, Luke and I have been doing P90x. If you're not sure what that is, take a look at the video here. Intense, right? I am so proud of the both of us. Luke has already finished one round and we are currently in our 7th week of this time around. (Before, I was just doing random workouts everyday, but now I am doing the same routine with him.) Being able to do the workout with him, has really benefited the both of us, we really motivate one another to do better (or to even do it.) So far, since we have started he has lost 23 pounds and I have lost 15. Not too shabby.

Anywho, at work I have become known as "the teacher" in our group. I am constantly trying to find new things to incorporate into learning opportunities. We have huge bulletin boards to decorate for, anything really. One of the boards, I have been using a character, whom we call "Scooter" and have been dressing him up for different holidays/seasons. I think the staff get a kick out of it more than the clients do though. :P

Here are some pictures of "Scooter". Hmm.. I can't find the original one of him jumping into a pile of leaves. I'll have to look for it later.


There he is jumping in the leaves (and his house off into the distance on the other side of the board)
 
There he is playing football for team WorkAbilities 

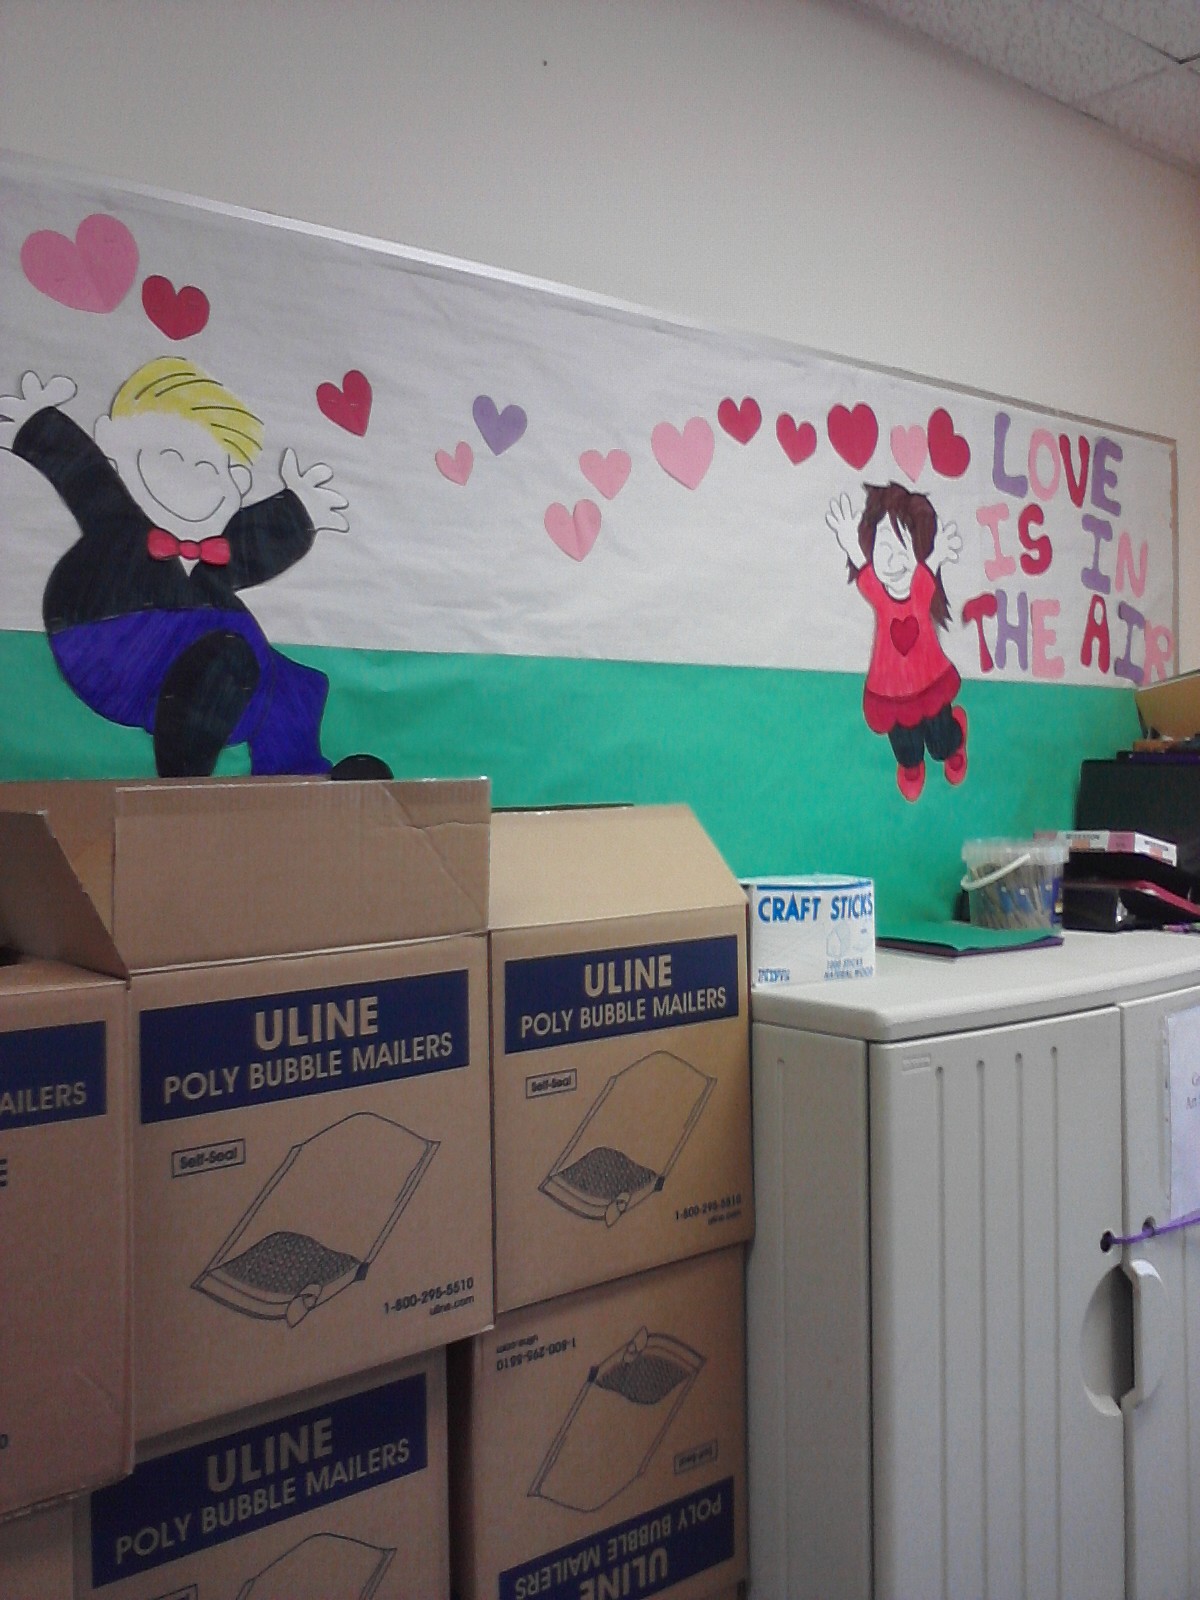
And here is with his girlfriend for Valentine's Day, we still have yet to come up with a name for her.

So, now that I'm posting this, I realize that there will be many more posts within the next few days. I have 8 months to catch up on!
 

Tuesday, August 23, 2011

Chili Recipe

Luke and I made chili the other day and it turned out wonderful. We kind of went off another recipe that we found for some of the main things, but did a lot on our own.

1 lb - Ground Beef
1 - 16oz can Bush Chili Beans (mild)
1 - 15 oz can Tomato Sauce
1 - 10oz can Rotel Diced Tomatoes and Green Chilies
1 - 14.5oz can Huntz Petite Diced Tomatoes
1 - 16oz can Bush Kidney Beans
1 - Chopped Green Bell Pepper
1 - Medium Sized Chopped Jalapeno Pepper
1/2 - Chopped White Onion
2 Tsp - Garlic
2 Tbsp - Brown Sugar
1 Tbsp - Cumin
2 Tsp - Oregano
1 1/2 Tbsp - Chili Powder
1/2 Tbsp - Cayenne Pepper
Salt
Black Pepper

In a frying pan, brown the beef. I added a few shakes of black pepper and salt, then added in the tomato sauce and set to the side.

In a separate frying pan, saute the onions, garlic, brown sugar, cumin, oregano, chili powder, cayenne pepper, chopped jalapeno pepper (de-seed), chopped green bell pepper until the onions become translucent.

In a slow cooking crockpost, combine the contents of both pans along with the remainder of ingredients (Bush Chili Beans, Rotel Diced Tomatoes and Green Chilies, Bush Kidney Beans) . Slow cook for 8 hours.

We did our overnight and let it cool off in the morning. Then when I got home from work, we heated it in the crockpot again for dinner. It does have a bit of spice to it, but it's not too hot. If you want it hotter, use either Hot or Medium Bush Chili Beans instead of mild. If you want it cooler, leave out the jalapeno.

All in all, we were very impressed and wrote down the ingredients right away... so we can make it again!


Saturday, August 20, 2011

A Gift to Always Be Thankful For

Well, yesterday was the 4 year anniversary of my father having a heart transplant. I can't believe how fast time has flown by. I am so indifferent with my emotions when this day comes. I am so very, very grateful of this gift of having a second chance at life for my dad. But, I am so deeply saddened for the other family's loss. I only hope they know how much this has given us, and how much we grieve for them as well. 


Here's to my dad, one of the most influential men in my life and those who lost a loved one and was so selfless to help others. I am so thankful you are happy and healthy again.

Saturday, August 6, 2011

Painting My Sister's Room

Well, my sister has been an ambitious little thing lately. She started packing up the kitchen stuff and peeling the wall paper to repaint. Then she decided she was tired of her room and needed a change. I went down and visited for a day and I helped her to get started on a design. This is what she decided she wanted: a gecko.

This is the finished product 

And here are the in progress photos:

 Before


Here is Amanda drawing the circles on the gecko. I found that using chalk on the wall is wonderful! It erases so easily with just your hand! No pencil marks!


 Amanda drawing more circles, see the ladder? So helpful when you are vertically challenged. :)


One coat on two more to go before I get to paint in the circles!


I wanted to continue with the circles on the wall like on the gecko, so Amanda found a ton of different sizes of circles to trace with the chalk. 


 Amanda painted the circles while I painted the gecko. 


I helped paint some of these circles. Amanda started getting frustrated. But, man... circles are hard to paint and make it look good! Amanda did a great job!


 What it looks like now, I think she's still going to work on smoothing out some of the edges.


A little snipit of both!

I just have to say, that I had a wonderful day spending some quality time with my sister. I'm so glad I took the day to go visit. :)

Monday, July 11, 2011

Dale Chihuly Pop Bottle Sculpture in Detail

I have had a few requests on further explaining how I made the pop bottle sculpture. I took some time to draw out a better detail. I would rather draw it considering I am a visual learner and explain things better when I have a diagram or objects in front of me. :P

Here you are! Click on the picture to make it bigger. After I started gluing, I worked my way up the tube with the pop bottles using the longer cut tubes toward the bottom and the shorter tubes at the top. I think this made it look more full.  More pictures are in a slideshow here on a previous post I did.

Friday, July 1, 2011

Drawing with Chocolate

Well, on the 7th my little sister will be turning 16! In lack of funds, I decided to make something for her that would be just as special! I went to the dollar store and found a little cute basket (her favorite color is green), along with a couple of different types of blank cards with envelopes. I made her some of her own return address labels with a fancy design with some clear Avery labels I purchased from target for my senior show last March. I went to Avery.com and they had an option where you could design and print labels online.

I then made her a homemade card. A while back I saw a tutorial on drawing with chocolate and I decided to try it out. Here are the directions. I chose to do a panda because that is my sister's nickname. Amanda = Panda... our little cousin couldn't pronounce her name so he just started calling her Panda. I put a popsicle stick in one of them right as I was doing the white chocolate layer. By the way, I just used some white and brown chocolate chips to make this. Simple, Simple and so much fun! I made some flowers to go with it too!


Wednesday, June 29, 2011

Mosaic Yoshi

Thanks to my cooperating teacher and her creative projects working with these itty bitty mosaics tiles with cd cases. I was able to create my own mosaic. Boyfriend really likes the 8-bit characters from the originals Mario games. So, I made him a mosaic Yoshi. He LOVES it. I didn't use a cd case for mine, so I need to go find a frame for it.

Tuesday, June 28, 2011

Mini Pies (Updated)

I have been in a dehydrating fruit mania.. bananas, 6 different kinds of apples, watermelon, strawberries. Currently in the dehydrator: Golden Delicious Apples, Bananas, and Pinneapple.

Currently in the oven: Minni Apple Pies!


I found the recipe here while I was stumbling. The recipe didn't really blow my mind. I would suggest possibly using your own apple pie recipe. The recipe calls for making 6 pies in your cupcake pan. I have one for 12 cupcakes and I was able to make 5. So, you may have to alter the recipe a bit. I also used golden delicious apples instead. I think this would be fun to try with different fillings. :)

I tried this again today with a new recipe I got from a friend of mine for the filling.  This made 6 mini pies.

Crust:
2 Cups Flour
12 Tbsp Softened Salted Butter
4 Tbsp Cold Water

Mix together flour and butter until you have small chunks. Add water and mix together into a ball. Wrap in plastic wrap for 20-30 minutes.

Filling:
4 Cups Granny Smith Apples (sliced thin)
1/2 Cup Brown Sugar
3/4 tsp Cinnamon
2 Tbsp  Flour  (or 1/8 cup)
1 Tbsp Lemon Juice 


Mix together brown sugar, cinnamon, flour, and lemon juice. Peel apples and slice thin (I used a mandolin). Then mix together. 

Grease a muffin pan, I used baking spray. Use rolling pin to roll out crust on a lightly floured surface. I used a bowl to cut around the shape. Take your crust and place it in the muffin pan. Score the bottom of the crust. Then place your apple filling mixture inside, make sure it is heaping the apples cook down alot. Then use the same bowl to cut another circle out of the crust for the top. Pinch the bottom layer and top layer of crust together and then score the top. 


Placed it in a preheated oven at 375 degrees for 30 minutes. I found out that I had to take them out of the pan right away and cool on a plate, otherwise the mini pie will crumble in the pan after it has cooled. If you run into this problem, stick the pan back in the oven for a few minutes to let them heat up again. 

Serve with vanilla ice cream. Delicious!


Wednesday, June 22, 2011

Hand-made Thank-You's

I had my graduation party this past weekend and I decided to make my own Thank-You's instead of buying them. A friend of mine gave me some odds and ends including some really cool scrapbook booking paper that helped me make these cards.

Supplies I used:
Cardstock (Multicolor, mine even have a bit of texture to it)
Scrapbook paper
Glue / Tape
Ruler
Scissors
Envelopes
"Thank You" Stamp & Ink
Cheep white paper for the inside

I basically cut down the cardstock to size to fit the envelope, folded it in half. Cut the scrapbook paper to fit and leave a boarder around the outside. Used more cardstock with enough room to just use the stamp. I used some left over scraps from the card to make a boarder around the "Thank You". On the inside, I used some cheap construction paper from a pack I got at target to have a place to write on the inside. 


I then signed the back with my logo. I created this logo a few years ago for a graphic design class. We drew an animal from a hat and then we had to use that animal to create a logo using our initials or our name. I drew an elephant and my initials are A.N.

Wednesday, June 8, 2011

Dale Chihuly Sculpture


With the criteria of teaching the 2nd graders the difference between Geometric and Organic Shapes, we made a sculpture in the likeness of Dale Chihuly, with recycled plastic bottles. 
Day 1:
Talked about the differences between Geometric and Organic Shapes, then designed our pop bottles using shapes and patterns.

Day 2:
Talked about the artist, Dale Chihuly and his method of glass blowing. Then the students each painted one bottle. 

Day 3:
The students cut their bottles into a spiral shape (leaving the cap on, to help me hot glue them together on a paper towel tube), then made eye-patches to help remind them of the artist's name. 

Here's the video!